About this class:
In this class, I am further exploring the use of the Gaussian Blur to help create shadows to show depth on a vibrant floral. My goal is to start with just a single layer for each flower, stem, or leaf. The reasoning behind this is that I know it will take many, many clipping masks to add the depth, so I try to keep it as simple as possible at first. As we progress through the lessons, you will see me add more and I will show you some real-world decisions as I work towards my end goal.
This class, Dramatic and Vivid Luxurious Garden in Procreate 1, will be Part 1, with a follow-up Part 2 that will show you many ideas for the finishing. At the end of today’s class, you will see we have all the flowers, stems, leaves and fillers ready to go for the follow-up class. I show you my semi-finished layout and talk about some of the finishing touches I want to add. Ideally, I suggest you keep the flowers to one simple shape that you will add the shading to.
In this class I’ll walk you through:
- my step-by-step method for blocking in the initial shapes
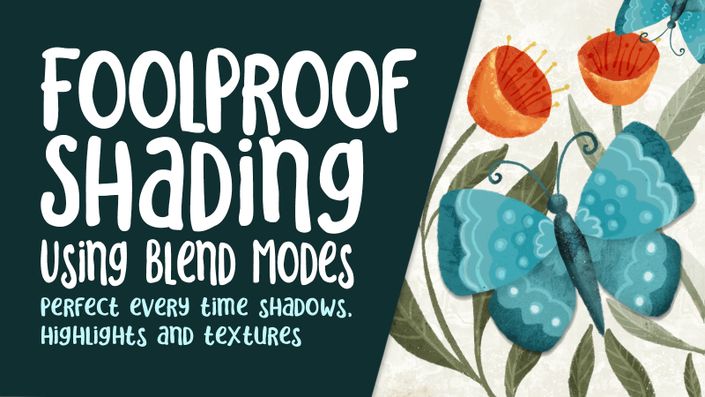
- tips for creating shadows easily with the Gaussian Blur
- my workflow for use of layers and clipping masks to add the dimension
- methods for keeping the art fully editable for later adjustments and recoloring
If you’d like to try something challenging, this is a great class for you. The challenge is in keeping your head wrapped around the clipping masks and layering. This class will benefit anyone who wishes to learn more about adding dimension and methods to improve efficiency.
The key concepts I will include:
- review of my organization of a complex illustration
- a look at how to work with inspiration without copying
- approaches you can take to arrange motifs to compliment positioning of lettering
Concepts covered:
Concepts covered include but are not limited to Procreate floral design, layering, filling with recolor, working with a sketch on darken blend mode, Procreate canvas settings, brush settings, Procreate snapping and guides, Procreate floral brush creation, the Brush Studio in Procreate, adjusting Procreate brushes, hue and saturation adjustments, sizing of documents and brushes, adding texture with brushes, Procreate brushes for adding other interesting details, workflow best practices, painting best practice, Procreate composites, techniques with paints and blending, and much more.
You will get the bonus of…
- 55 minutes of direction from an instructor who has been in graphic design business and education for over 40 years
- knowledge of multiple ways to solve each design challenge
Project Description
Create a pencil sketch that will act as your guide for creating the finished art. Place this sketch at the top of your layers and set it to Darken Blend Mode. Block in your basic shapes with as few layers as possible. Work through each of the lessons, applying the concepts as I teach them. Experiment with using the Gaussian Blur method and the Soft Airbrush method to see which you prefer.
The Curriculum
- Intro to Dramatic and Vivid Luxurious Garden in Procreate (2:22)
- Lesson 1 Inspiration and Overview (7:40)
- Lesson 2 Blocking in the lnitial Flower Shapes (10:55)
- Lesson 3 Touchups and Shading Techniques (8:12)
- Lesson 4 Experiments with Overlaps (5:40)
- Lesson 5 Multi-Part Motif Issues (15:59)
- Lesson 6 Some of the Finishing Touches (11:12)
- Lesson 7 Conclusion and Closing Thoughts (1:29)
- Intro to Part 2 Vivid Luxurious Floral in Procreate (1:21)
- Lesson 1 Filling Out the Background (10:36)
- Lesson 2 Add and Multiply Blend Modes (7:22)
- Lesson 3 Different Methods for Leaf Detailing (15:39)
- Lesson 4 Creating Interesting Display Type (8:49)
- Lesson 5 Finishing Touches and Details (11:28)
- Lesson 6 Conclusion and Closing Thoughts (1:37)